Seller setup guide
How to Start Selling PDFs on YourPDF.store
A complete step-by-step walkthrough from registration to publishing and sharing your first product.
Published: 17 July 2026
YourPDF.store gives you a public product page, secure Stripe checkout, automatic PDF delivery, sample-page previews, and a public seller catalog. You do not need to build a separate website or deliver files manually.
This guide follows the entire seller journey. By the end, you will have an active seller account, a published PDF product, a direct product URL, and a link to your complete catalog.
Step 1
Create your seller account
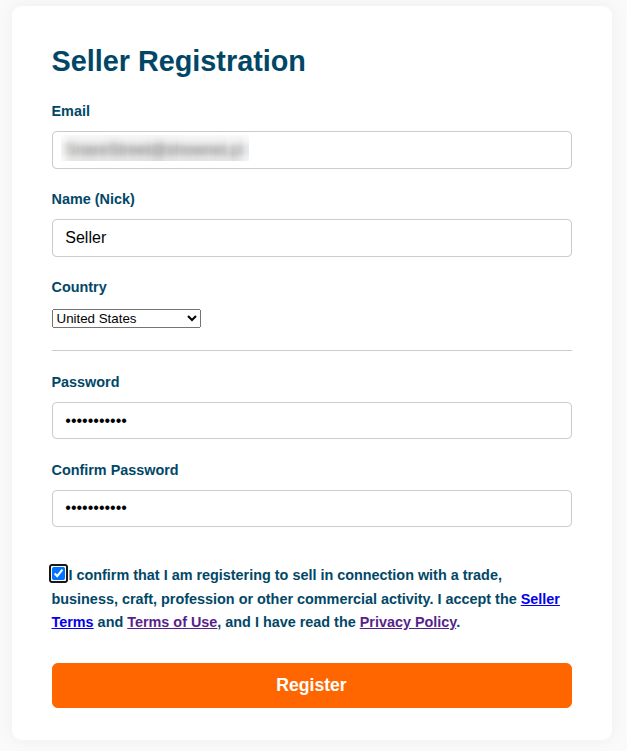
Open the Seller Registration page and enter your email address, seller name or nickname, country, and password.
Read the Seller Terms, Terms of Use, and Privacy Policy. Select the declaration checkbox only when it correctly describes your selling activity, then click Register.
Step 2
Confirm your email address
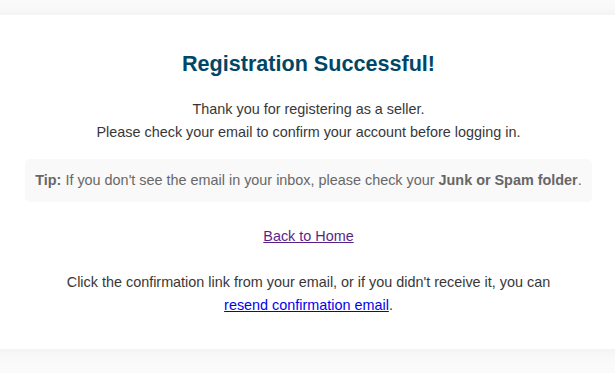
After registration, YourPDF.store sends a confirmation message to the email address you entered. You must confirm the address before you can log in.
If the message does not appear in your inbox, check the Junk or Spam folder. The registration confirmation page also provides a link for requesting another message.
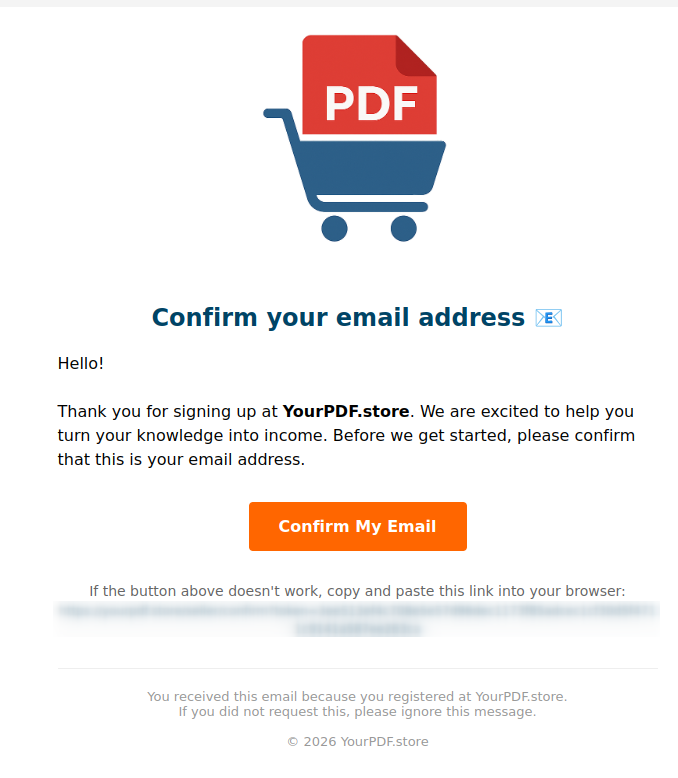
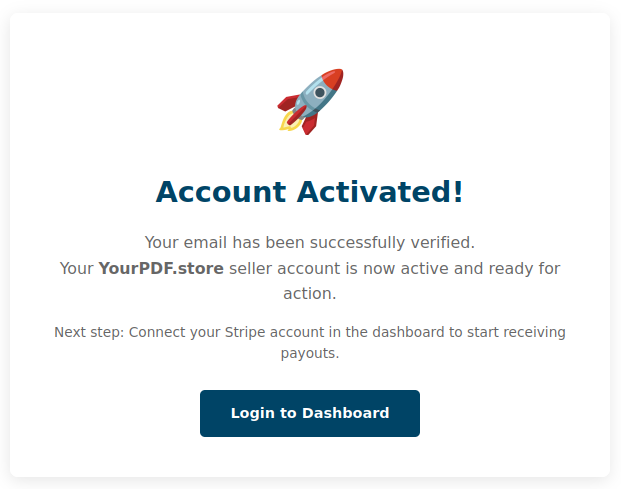
After clicking the confirmation button, you will see the account activation page. Select Login to Dashboard and sign in with the password created during registration.
Step 3
Connect Stripe for payments
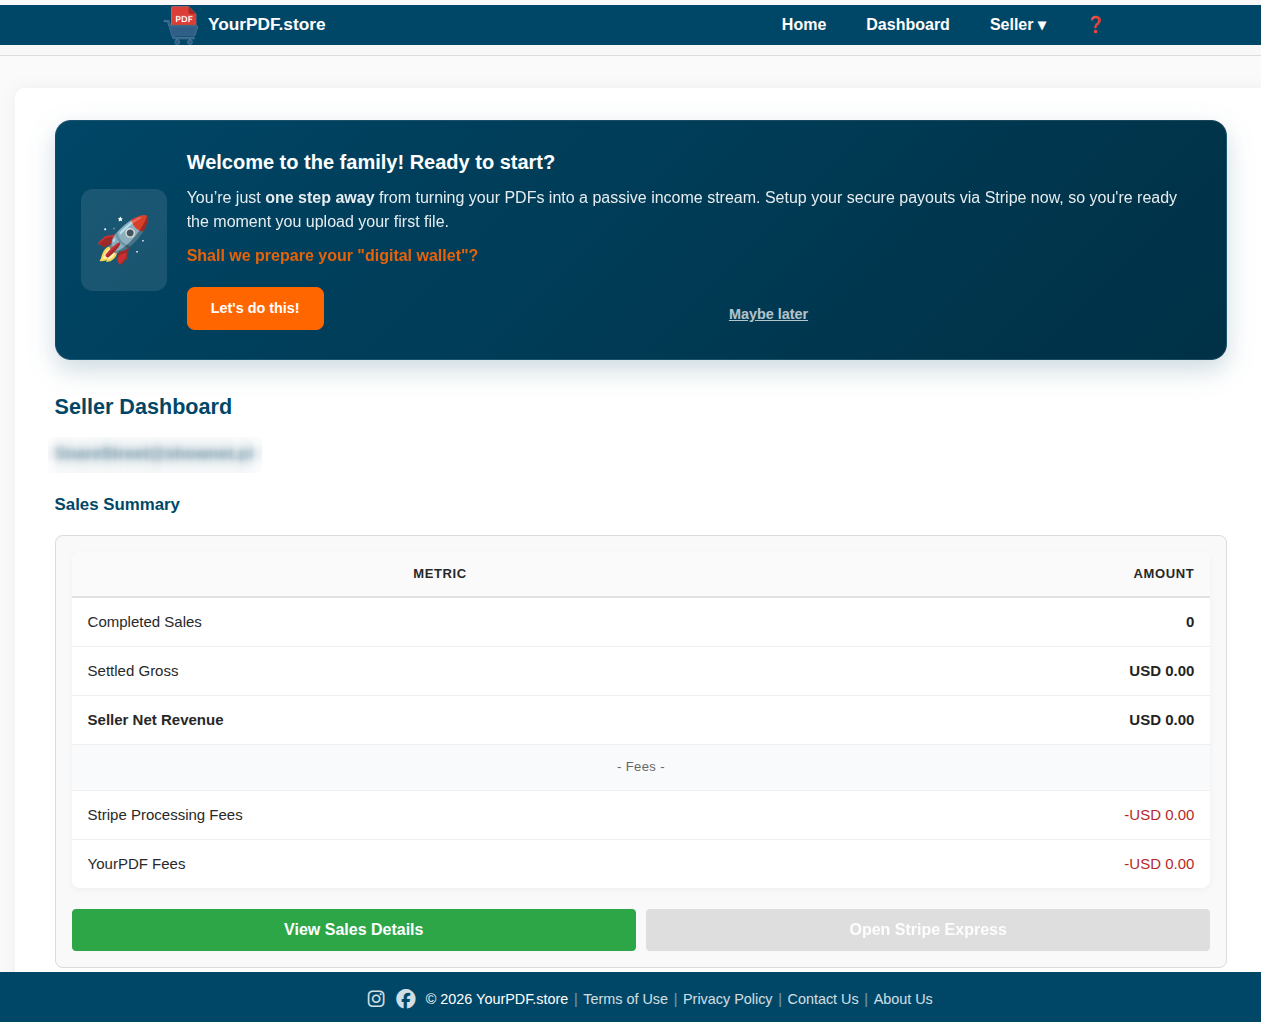
When you first open the Seller Dashboard, a setup banner asks you to prepare your payment account. Click Let's do this! to begin Stripe onboarding.
Stripe securely collects the information needed to process buyer payments and send seller payouts. The exact onboarding questions may differ depending on your country, account type, and the information Stripe needs to verify.
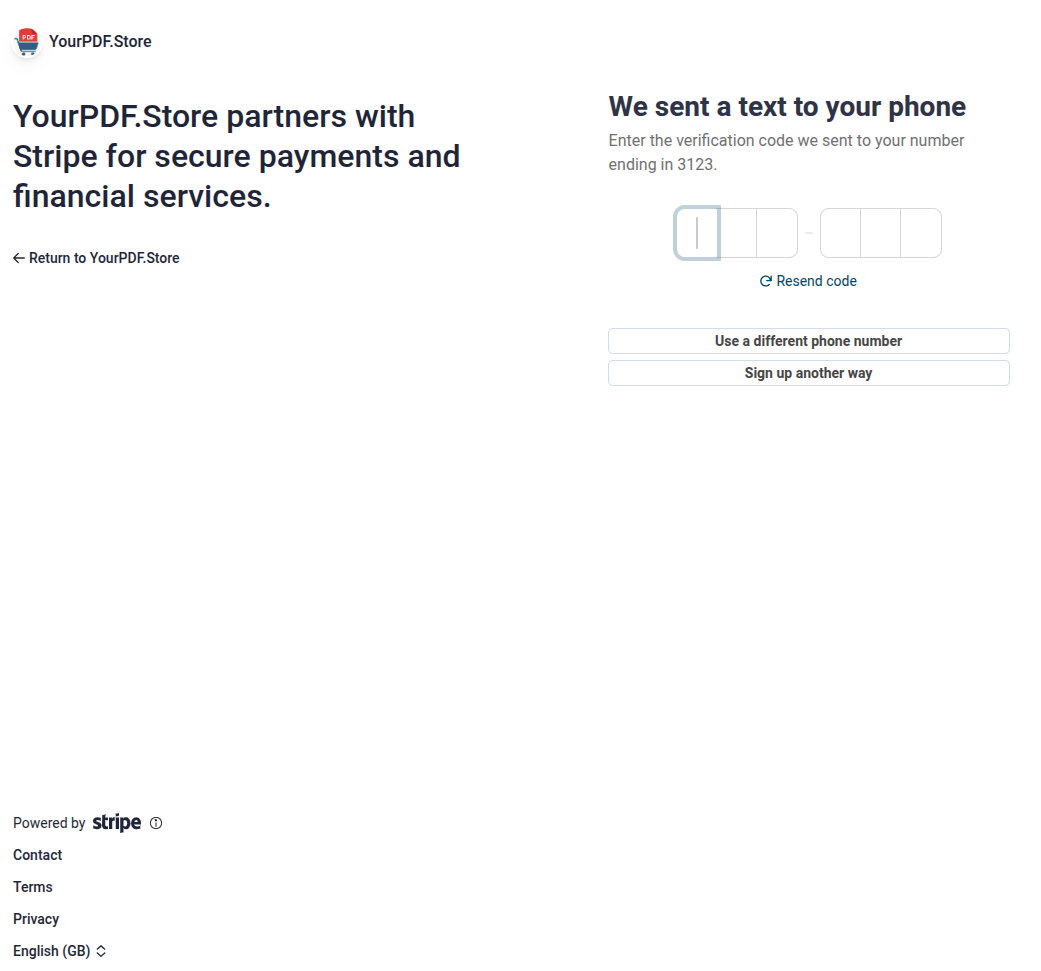
Follow Stripe's instructions. You may be asked to confirm your phone number and provide identity, business, tax, or bank details. This information is entered directly into Stripe's secure onboarding flow.
Complete every required step and return to YourPDF.store. If Stripe requests additional information later, follow the prompt shown in your dashboard.
Step 4
Add your first PDF product
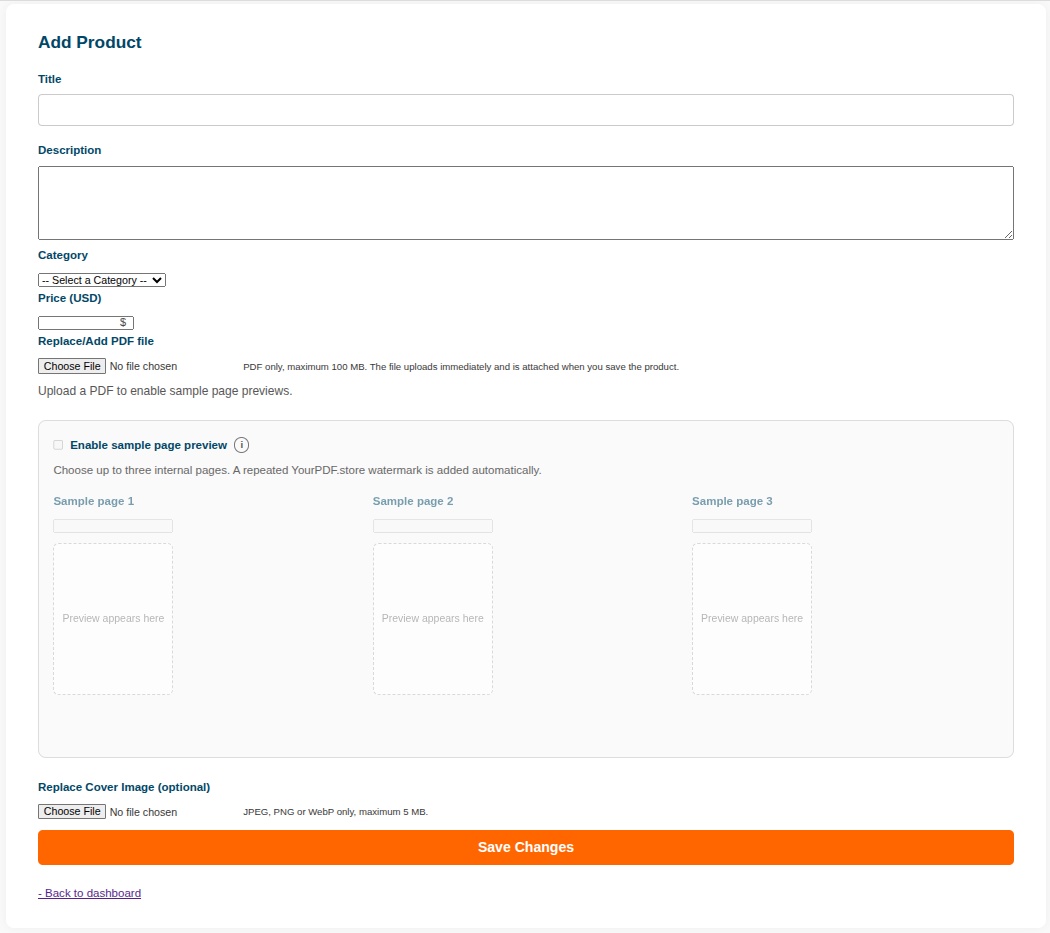
In the Your Products section of the dashboard, click Add New Product. Complete the listing form:
- Title: say clearly what the buyer will receive.
- Description: explain the purpose, contents, target buyer, and practical benefit.
- Category: select the closest available category.
- Price: enter the amount in the currency displayed by the form.
- PDF file: select the product file. The current maximum file size is 100 MB.
Step 5
Choose sample pages and add a cover
Once the PDF is attached, enable sample page preview and choose up to three internal page numbers. YourPDF.store automatically adds a repeated preview watermark before showing these pages to visitors.
Choose pages that demonstrate the layout and usefulness of the product without revealing the complete solution. Two or three strong pages are usually more convincing than a title page or table of contents.
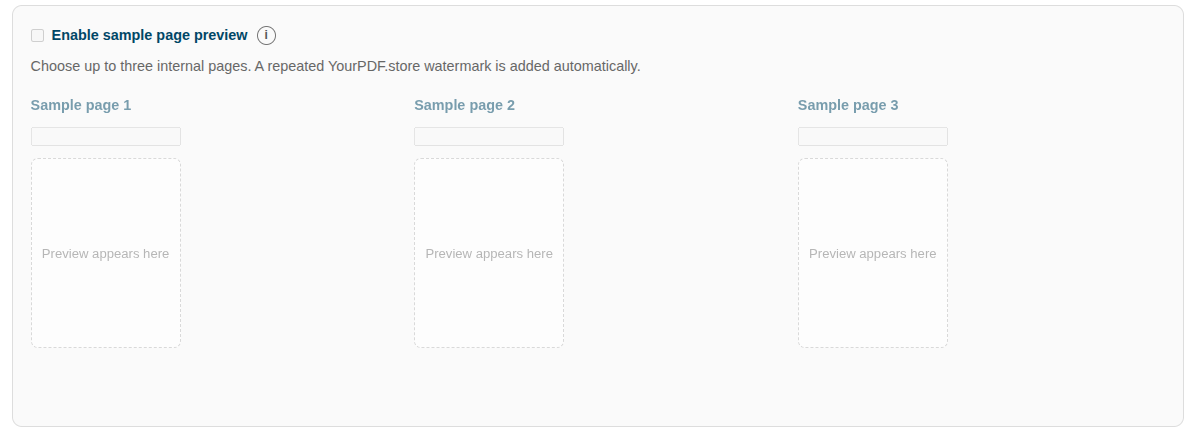
You can also upload a separate cover image. The form accepts JPEG, PNG, and WebP images up to 5 MB. A clean cover makes the listing easier to understand in the marketplace, seller catalog, and product page.
Step 6
Save and publish the product
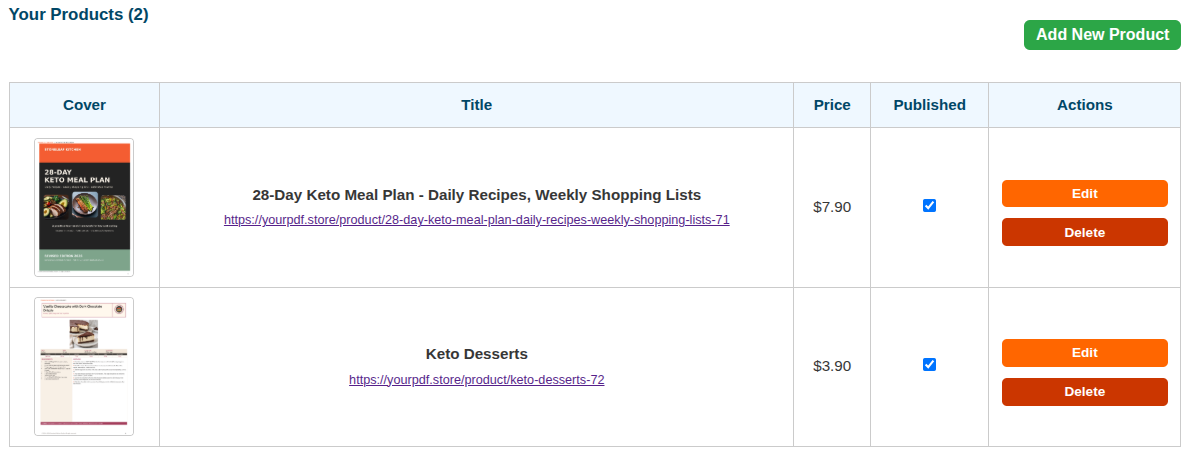
Click Save Changes at the bottom of the product form. The product will then appear in the Your Products table in your dashboard.
Check the title, cover, and price. When the listing is ready and your Stripe setup is complete, use the Published checkbox to make the product publicly available.
The dashboard also gives you an Edit button for future changes and displays the direct public URL below the product title.
Step 7
Review the public product page
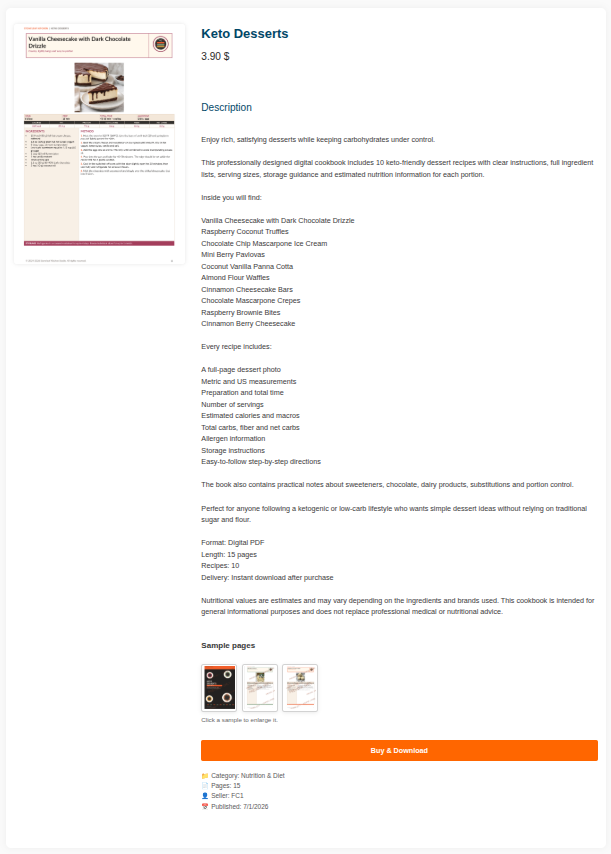
Open the direct product URL shown in the dashboard. This is the page buyers will see when you share your product.
Check that the cover, title, price, description, category, page count, seller name, and Buy & Download button are displayed correctly. If sample pages are enabled, thumbnails will appear beneath the description.
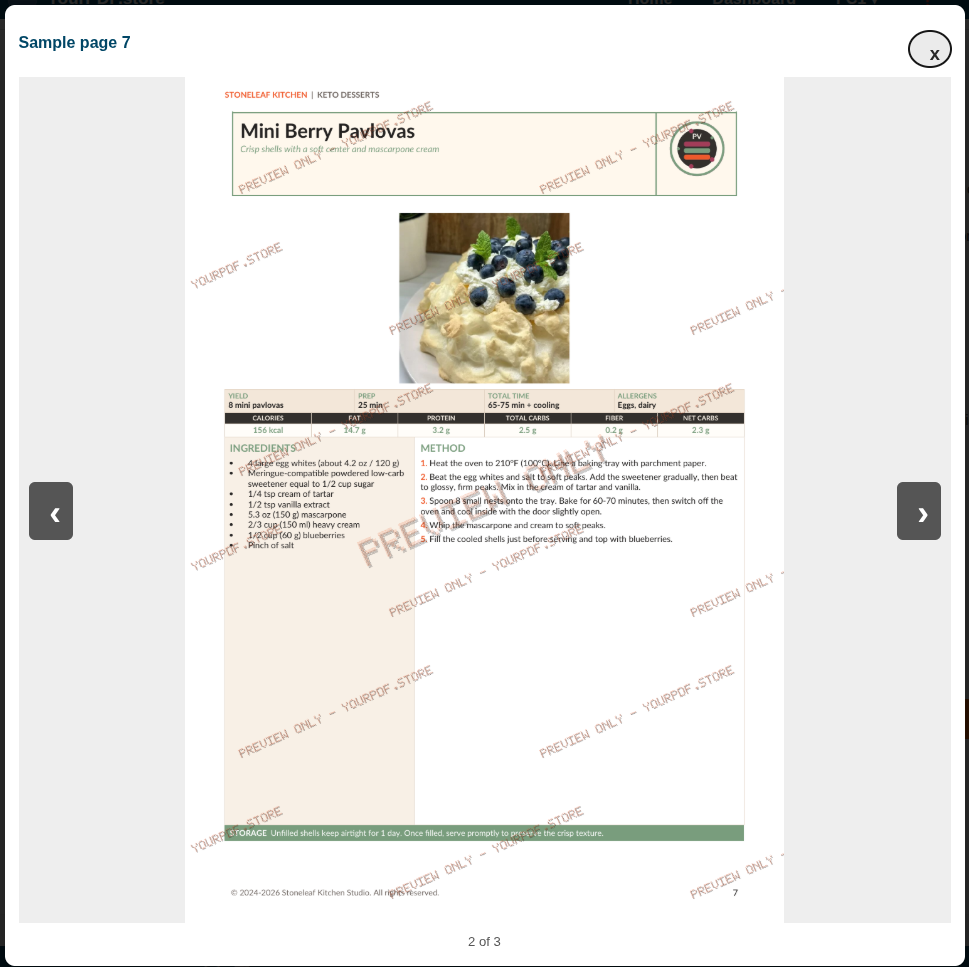
Click a sample thumbnail and test the preview viewer. Confirm that the selected pages are readable and useful, and that the watermark is visible.
Step 8
Share the direct product link
Copy the URL displayed below the product title in your dashboard. This link opens one specific product and is the best choice when promoting a single PDF.
You can use it in social posts, direct messages, emails, newsletters, articles, advertisements, or buttons on your own website. Always describe the benefit of the PDF instead of posting the link without context.
Step 9
Share your public seller catalog
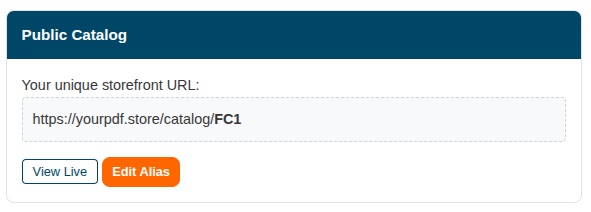
Your dashboard also provides a unique storefront URL under Public Catalog. This page collects all of your published products in one place.
Use View Live to check the catalog. Use Edit Alias to choose a cleaner public catalog address when needed. The catalog link is a strong choice for an Instagram or TikTok bio, creator profile, email signature, or personal website.
Your first-product checklist
- Seller account registered and email confirmed.
- Stripe onboarding completed.
- Final PDF file uploaded.
- Title, description, category, price, and cover checked.
- Useful sample pages selected and tested.
- Product published and public links copied.
Ready to publish your PDF?
Create your seller account, complete the steps above, and share your first product page.
Create a Seller Account